Chef’s Choice Knife Sharpener Instructions: A Comprehensive Guide
Welcome! This guide offers clear, concise
instructions for your Chef’s Choice knife sharpener.
Whether you’re a professional chef
or home cook, learn to achieve razor-sharp
edges effortlessly. Follow our step-by-step approach
to maintain your knives, enhancing your cutting
performance and kitchen experience.
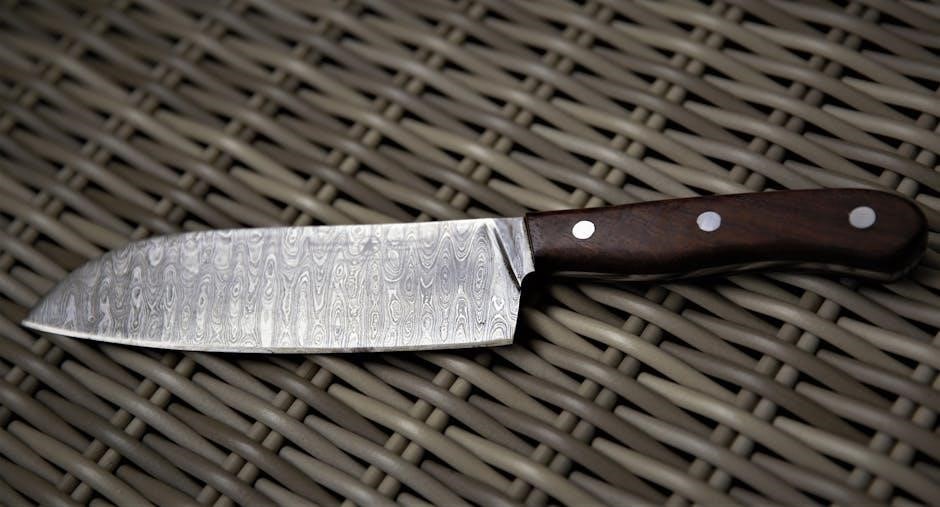
Understanding Your Chef’s Choice Sharpener Model
Before diving into the sharpening process, it’s crucial to understand your specific Chef’s Choice sharpener model. Different models, such as the Model 120, 15XV, 4643, and D202, employ varying stage systems and abrasive materials. Some feature two-stage, while others have three-stage sharpening processes.
Pay close attention to whether your model utilizes diamond abrasives, ceramic wheels, or a combination of both. The Model 120, for example, uses 100% diamond-coated disks in the first two stages and a stropping disk in the third. Knowing this helps you understand the sharpening requirements and the proper technique to use. Also, determine if your model is designed for 15-degree or 20-degree knives, as this affects the angle control needed for consistent results.
Consult your user manual, which can often be downloaded from the Chef’s Choice website, to fully understand the features and capabilities of your particular sharpener. Understanding the components, stages, and recommended knife types ensures optimal sharpening and extends the life of both your sharpener and your knives. This familiarity also helps in troubleshooting common issues that might arise during use.
Initial Setup and Safety Precautions
Before using your Chef’s Choice knife sharpener, proper initial setup and adherence to safety precautions are paramount. First, carefully unpack the sharpener and inspect it for any damage. Ensure all components are present and that the unit is stable on a flat, non-slip surface. Read the entire instruction manual thoroughly to familiarize yourself with the sharpener’s operation and safety guidelines.
Always plug the sharpener into a grounded electrical outlet that matches the voltage specified on the unit. Avoid using extension cords if possible; if necessary, ensure the cord is heavy-duty and properly grounded. Keep the sharpener away from water and other liquids to prevent electrical hazards. Never immerse the sharpener in water.
When operating the sharpener, maintain a firm grip on the knife handle and follow the angle guides precisely. Do not apply excessive pressure, as the sharpener’s weight should be sufficient. Keep fingers clear of the sharpening slots to avoid injury. After each use, unplug the sharpener and clean it according to the manufacturer’s instructions. Store the sharpener in a safe place, out of reach of children.
Step-by-Step Sharpening Process: Stage 1 (Sharpening)
Stage 1 of the Chef’s Choice sharpening process is crucial for creating the initial edge on your knife. Begin by ensuring your knife is clean and dry. Locate Stage 1 on your sharpener, typically designated with a specific number or symbol. Insert the knife blade into the appropriate slot, ensuring the heel of the blade is against the stop.
Apply light, consistent pressure as you draw the knife through the slot, following the angle guides. Maintain a steady pace, allowing the abrasive wheels to work evenly on the blade. Repeat this process several times, alternating between each side of the blade. The number of passes required will depend on the dullness of the knife.
Listen for a consistent grinding sound, indicating proper contact with the sharpening wheels. Avoid applying excessive pressure, which can damage the blade or the sharpener. After several passes, inspect the blade for a burr, a slight upturned edge. This indicates that the sharpening process is progressing effectively. Continue sharpening until a burr is present along the entire length of the blade on both sides.
Step-by-Step Sharpening Process: Stage 2 (Honing/Polishing)
Stage 2 of the Chef’s Choice knife sharpening system focuses on honing and polishing the edge created in Stage 1. This step refines the blade, removing any remaining burrs and creating a sharper, more polished finish. Locate Stage 2 on your sharpener, typically marked differently from Stage 1. Ensure the sharpener is clean and free of any debris from the previous stage.
Insert the knife blade into the designated slot for Stage 2, maintaining the correct angle as guided by the sharpener. Use lighter pressure than in Stage 1, allowing the honing wheels to gently refine the edge. Draw the knife through the slot in smooth, consistent strokes, alternating between each side of the blade. The number of passes required will depend on the model of your sharpener and the desired level of polish.
Listen for a smoother, quieter sound compared to Stage 1, indicating that the blade is being honed and polished. Avoid applying excessive pressure, as this can damage the honing wheels or alter the angle of the edge. After several passes, inspect the blade for a clean, polished edge. The blade should feel noticeably sharper and smoother to the touch.
Step-by-Step Sharpening Process: Stage 3 (Stropping ー if applicable)
Stage 3, available on select Chef’s Choice models, is dedicated to stropping, the final step in achieving a razor-sharp edge. Stropping aligns the microscopic teeth of the blade, creating a smoother, more refined cutting surface. Ensure your sharpener includes a Stage 3 stropping feature before proceeding. Locate the designated slot for Stage 3, often marked with a different color or symbol.
Insert the knife blade into the Stage 3 slot, maintaining a consistent angle as guided by the sharpener. Apply very light pressure, allowing the stropping material to gently polish the edge. Draw the knife through the slot in smooth, even strokes, alternating between each side of the blade. The number of passes required depends on the desired level of sharpness and the condition of the blade.
Listen for a quiet, almost silent sound, indicating that the blade is being polished and refined. Avoid applying excessive pressure, as this can damage the stropping material or alter the angle of the edge. After several passes, carefully inspect the blade for a mirror-like finish and exceptional sharpness. The blade should glide effortlessly through paper or other test materials.
Sharpening Serrated Knives (if applicable)
Sharpening serrated knives requires a slightly different approach compared to straight-edged blades. Not all Chef’s Choice sharpeners are designed for serrated knives, so confirm compatibility before proceeding. If your model includes a serrated knife sharpening feature, it typically involves a specialized slot or stage that hones each individual serration.
Identify the serrated knife slot, usually marked with a specific symbol. Gently guide each serration through the designated slot, ensuring that only the beveled edge of each tooth comes into contact with the sharpening surface. Apply minimal pressure and follow the curve of each serration as you move it through the slot.
Avoid applying too much pressure, as this can damage or break the delicate serrations. Focus on maintaining a consistent angle and smooth motion for each pass. Sharpen only the beveled side of the serrations, leaving the flat side untouched. After sharpening each serration, test the knife’s sharpness by slicing through bread or other textured foods. If needed, repeat the process until the desired sharpness is achieved.

Maintaining the Blade Angle: Achieving Consistent Results
Achieving a consistent blade angle is crucial for obtaining and maintaining a sharp, durable edge on your knives. Chef’s Choice sharpeners are designed to guide the knife at a specific angle, typically 20 degrees for most models, although some offer options for 15-degree edges. Understanding and adhering to this angle is paramount for optimal results.
When using the sharpener, ensure the knife is held firmly against the angle guides. Avoid twisting or rocking the knife, as this can alter the angle and create an uneven edge. Maintain a steady, consistent pressure throughout the sharpening process, allowing the sharpener to do the work.
Practice makes perfect; the more you use the sharpener, the more intuitive maintaining the correct angle will become. Periodically check the edge of the knife to ensure it’s sharpening evenly. If you notice any inconsistencies, adjust your technique accordingly. Remember, patience and precision are key to achieving professional-quality results. Always refer to your sharpener’s manual for specific angle recommendations and guidance.
Testing Knife Sharpness
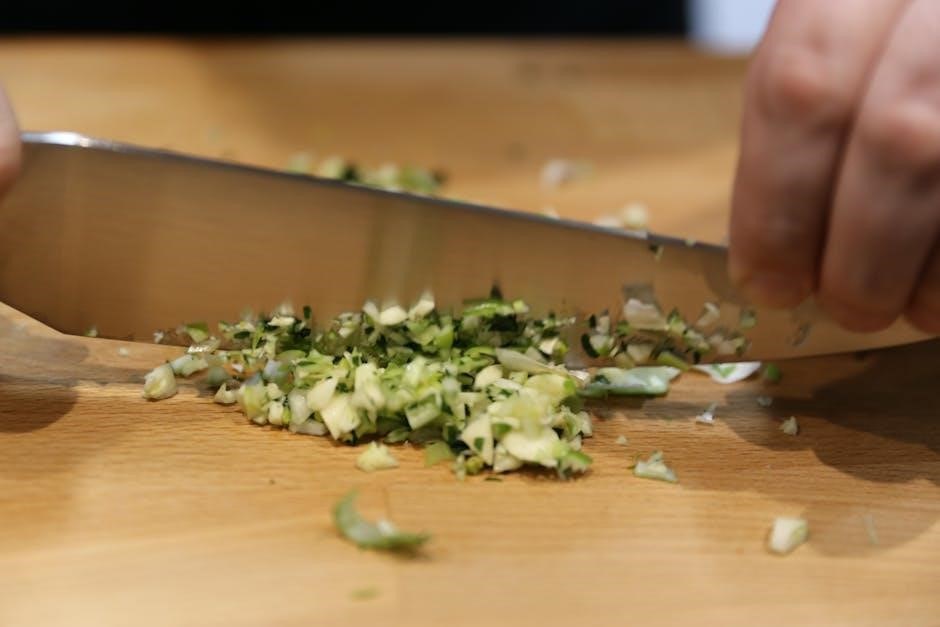
After sharpening your knife, it’s essential to test its sharpness to ensure you’ve achieved the desired results. A common method is the paper test: hold a sheet of paper vertically and carefully attempt to slice downwards through it. A sharp knife will glide through the paper cleanly, while a dull knife will tear or snag.

Another test involves using a tomato. A sharp knife will slice through the tomato skin with minimal pressure, while a dull knife will require sawing and crushing. Be extremely cautious when performing these tests to avoid injury.
If the knife fails these tests, revisit the sharpening process, paying close attention to maintaining the correct angle and applying consistent pressure. It may be necessary to repeat the sharpening stages or adjust your technique. Remember, a truly sharp knife makes kitchen tasks safer and more enjoyable. Don’t hesitate to experiment and find the testing methods that work best for you, ensuring your knives are always at their peak performance.
Cleaning and Maintenance of the Sharpener
Proper cleaning and maintenance are crucial to extending the life and performance of your Chef’s Choice knife sharpener. After each use, unplug the sharpener and use a dry cloth or soft brush to remove any metal filings or debris that may have accumulated on the sharpening surfaces or in the slots. Avoid using water or any liquids, as this could damage the internal components.
Periodically, you may need to clean the exterior of the sharpener with a damp cloth. Ensure the sharpener is unplugged and completely dry before storing it. Store the sharpener in a clean, dry place, away from extreme temperatures or humidity.
For models with removable sharpening cartridges, refer to the manufacturer’s instructions for specific cleaning procedures. Regularly inspect the sharpening wheels or belts for wear and tear, and replace them as needed to maintain optimal sharpening performance. With proper care and attention, your Chef’s Choice knife sharpener will continue to provide you with years of reliable service, keeping your knives sharp and ready for any culinary task.
Troubleshooting Common Issues
Even with careful use, you might encounter issues with your Chef’s Choice sharpener. If your knife isn’t sharpening effectively, first ensure you’re using the correct stage for the knife type and edge angle. Check if the sharpening wheels are worn or damaged, requiring replacement. Uneven sharpening can occur if you’re not maintaining a consistent angle or pressure during the process.
If the sharpener is making unusual noises, it could indicate debris buildup or a mechanical problem. Unplug the unit and inspect for obstructions. For electrical issues, confirm the sharpener is properly plugged into a functioning outlet. If the motor isn’t running, consult the user manual or contact customer support.
Serrated knives require special attention; ensure you’re using the appropriate serrated knife slot, if available. If problems persist, refer to the troubleshooting section in your sharpener’s manual or seek assistance from Chef’s Choice directly. Remember, proper maintenance and technique are key to preventing many common issues and ensuring optimal performance.
Available Chef’s Choice Models
Chef’s Choice offers a diverse range of electric and manual knife sharpeners designed to meet various needs and budgets. The popular Model 120, a 3-stage electric sharpener, utilizes diamond-coated disks for sharpening, honing, and polishing, providing a razor-sharp edge. The 15XV is ideal for 15-degree class knives, employing a 3-stage process with diamond abrasives.
For those preferring manual sharpeners, the AngleSelect Model 4643 accommodates both 15 and 20-degree knives, offering versatility. The Diamond Hone D202 is a 2-stage electric sharpener known for its ease of use. Each model incorporates precision angle control, ensuring consistent sharpening results.
Other notable models include the Chef’s Choice 300, a user-friendly option for home cooks, and various professional sharpeners with multiple stages and advanced features. When selecting a model, consider your knife collection, sharpening frequency, and desired level of sharpness. Explore the Chef’s Choice website or authorized retailers for detailed specifications and customer reviews to find the perfect sharpener for your needs.